Further Refine your categories with sub-categories

Expense IQ comes with a useful set of categories that is sufficient for most people, but what if you need more defined categories under each one? We got you covered! Simply set up Sub-categories!
For example, "Food" category just too generic for you? Maybe add "Breakfast", "Lunch", "Dinner", "Snacks" and "Dessert" to get a breakdown of the different meals?
Delve deep into your finances, generate reports and filter transactions easily and neatly using sub-categories.
Adding a sub-category
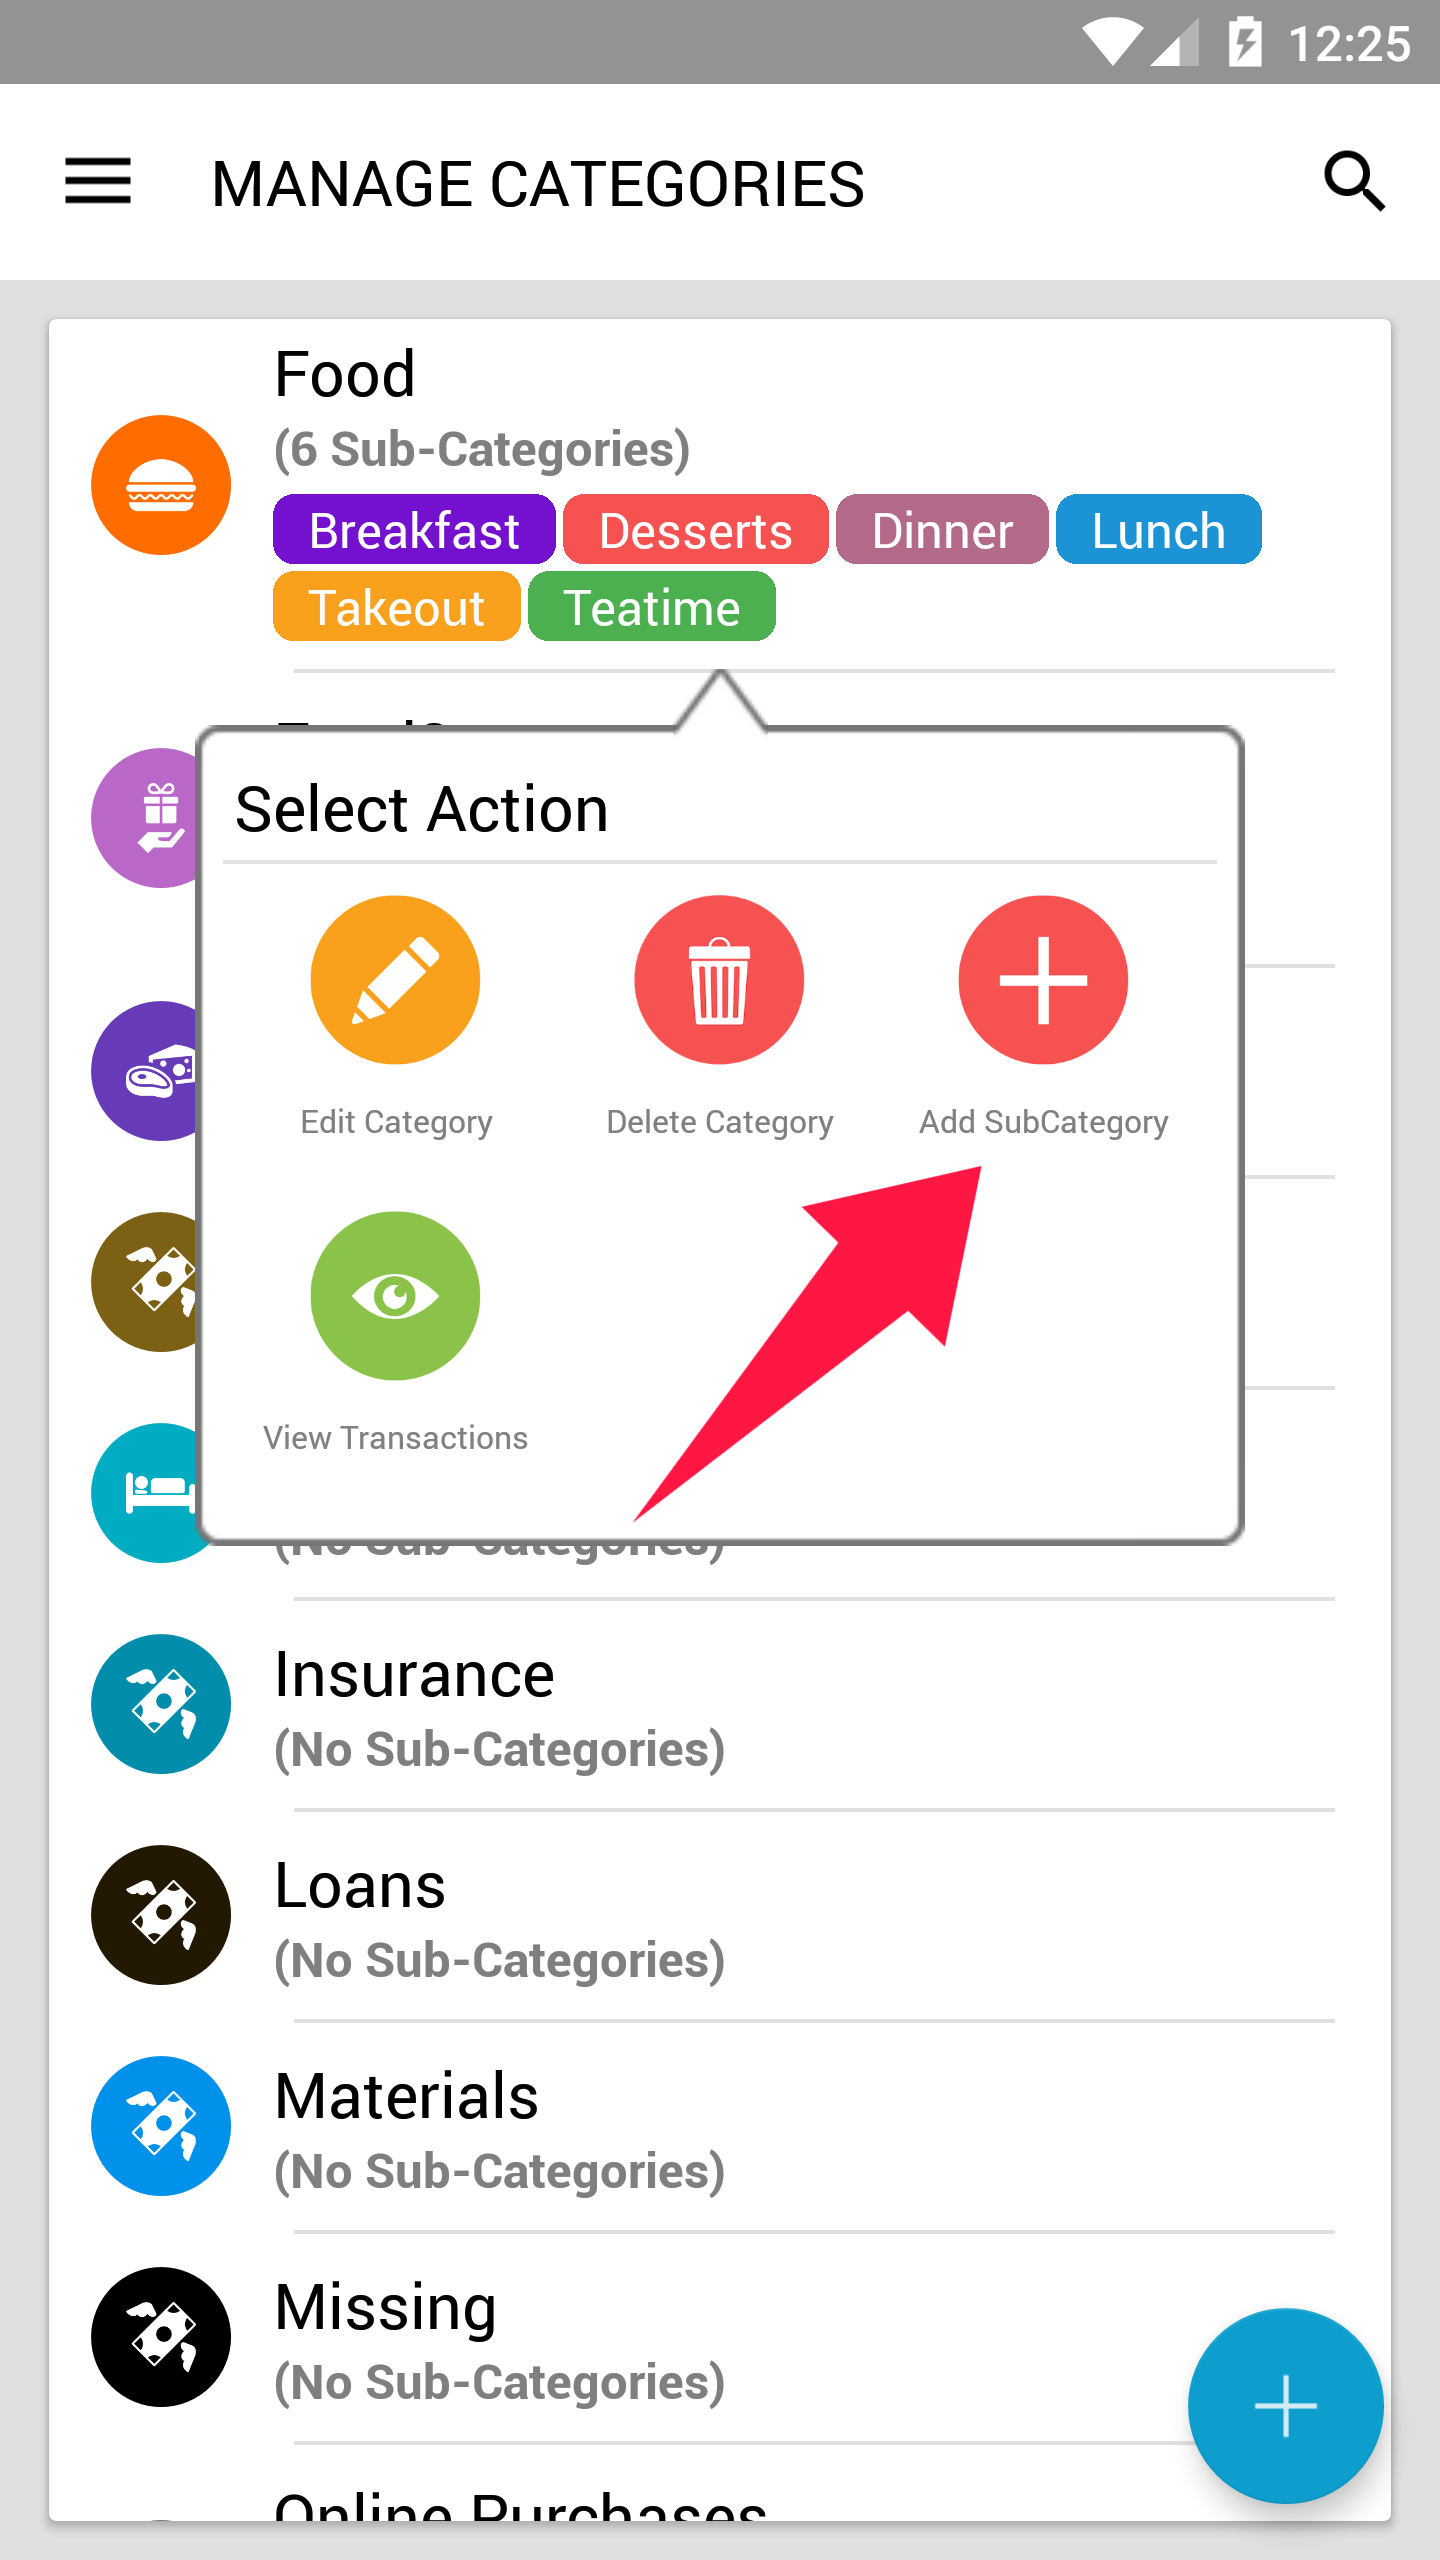
To add a sub-category, simply tap on the category you want to add a sub-category to, and tap "Add Sub-category"
Enter the name of the Sub-category and change the icon if you want to.
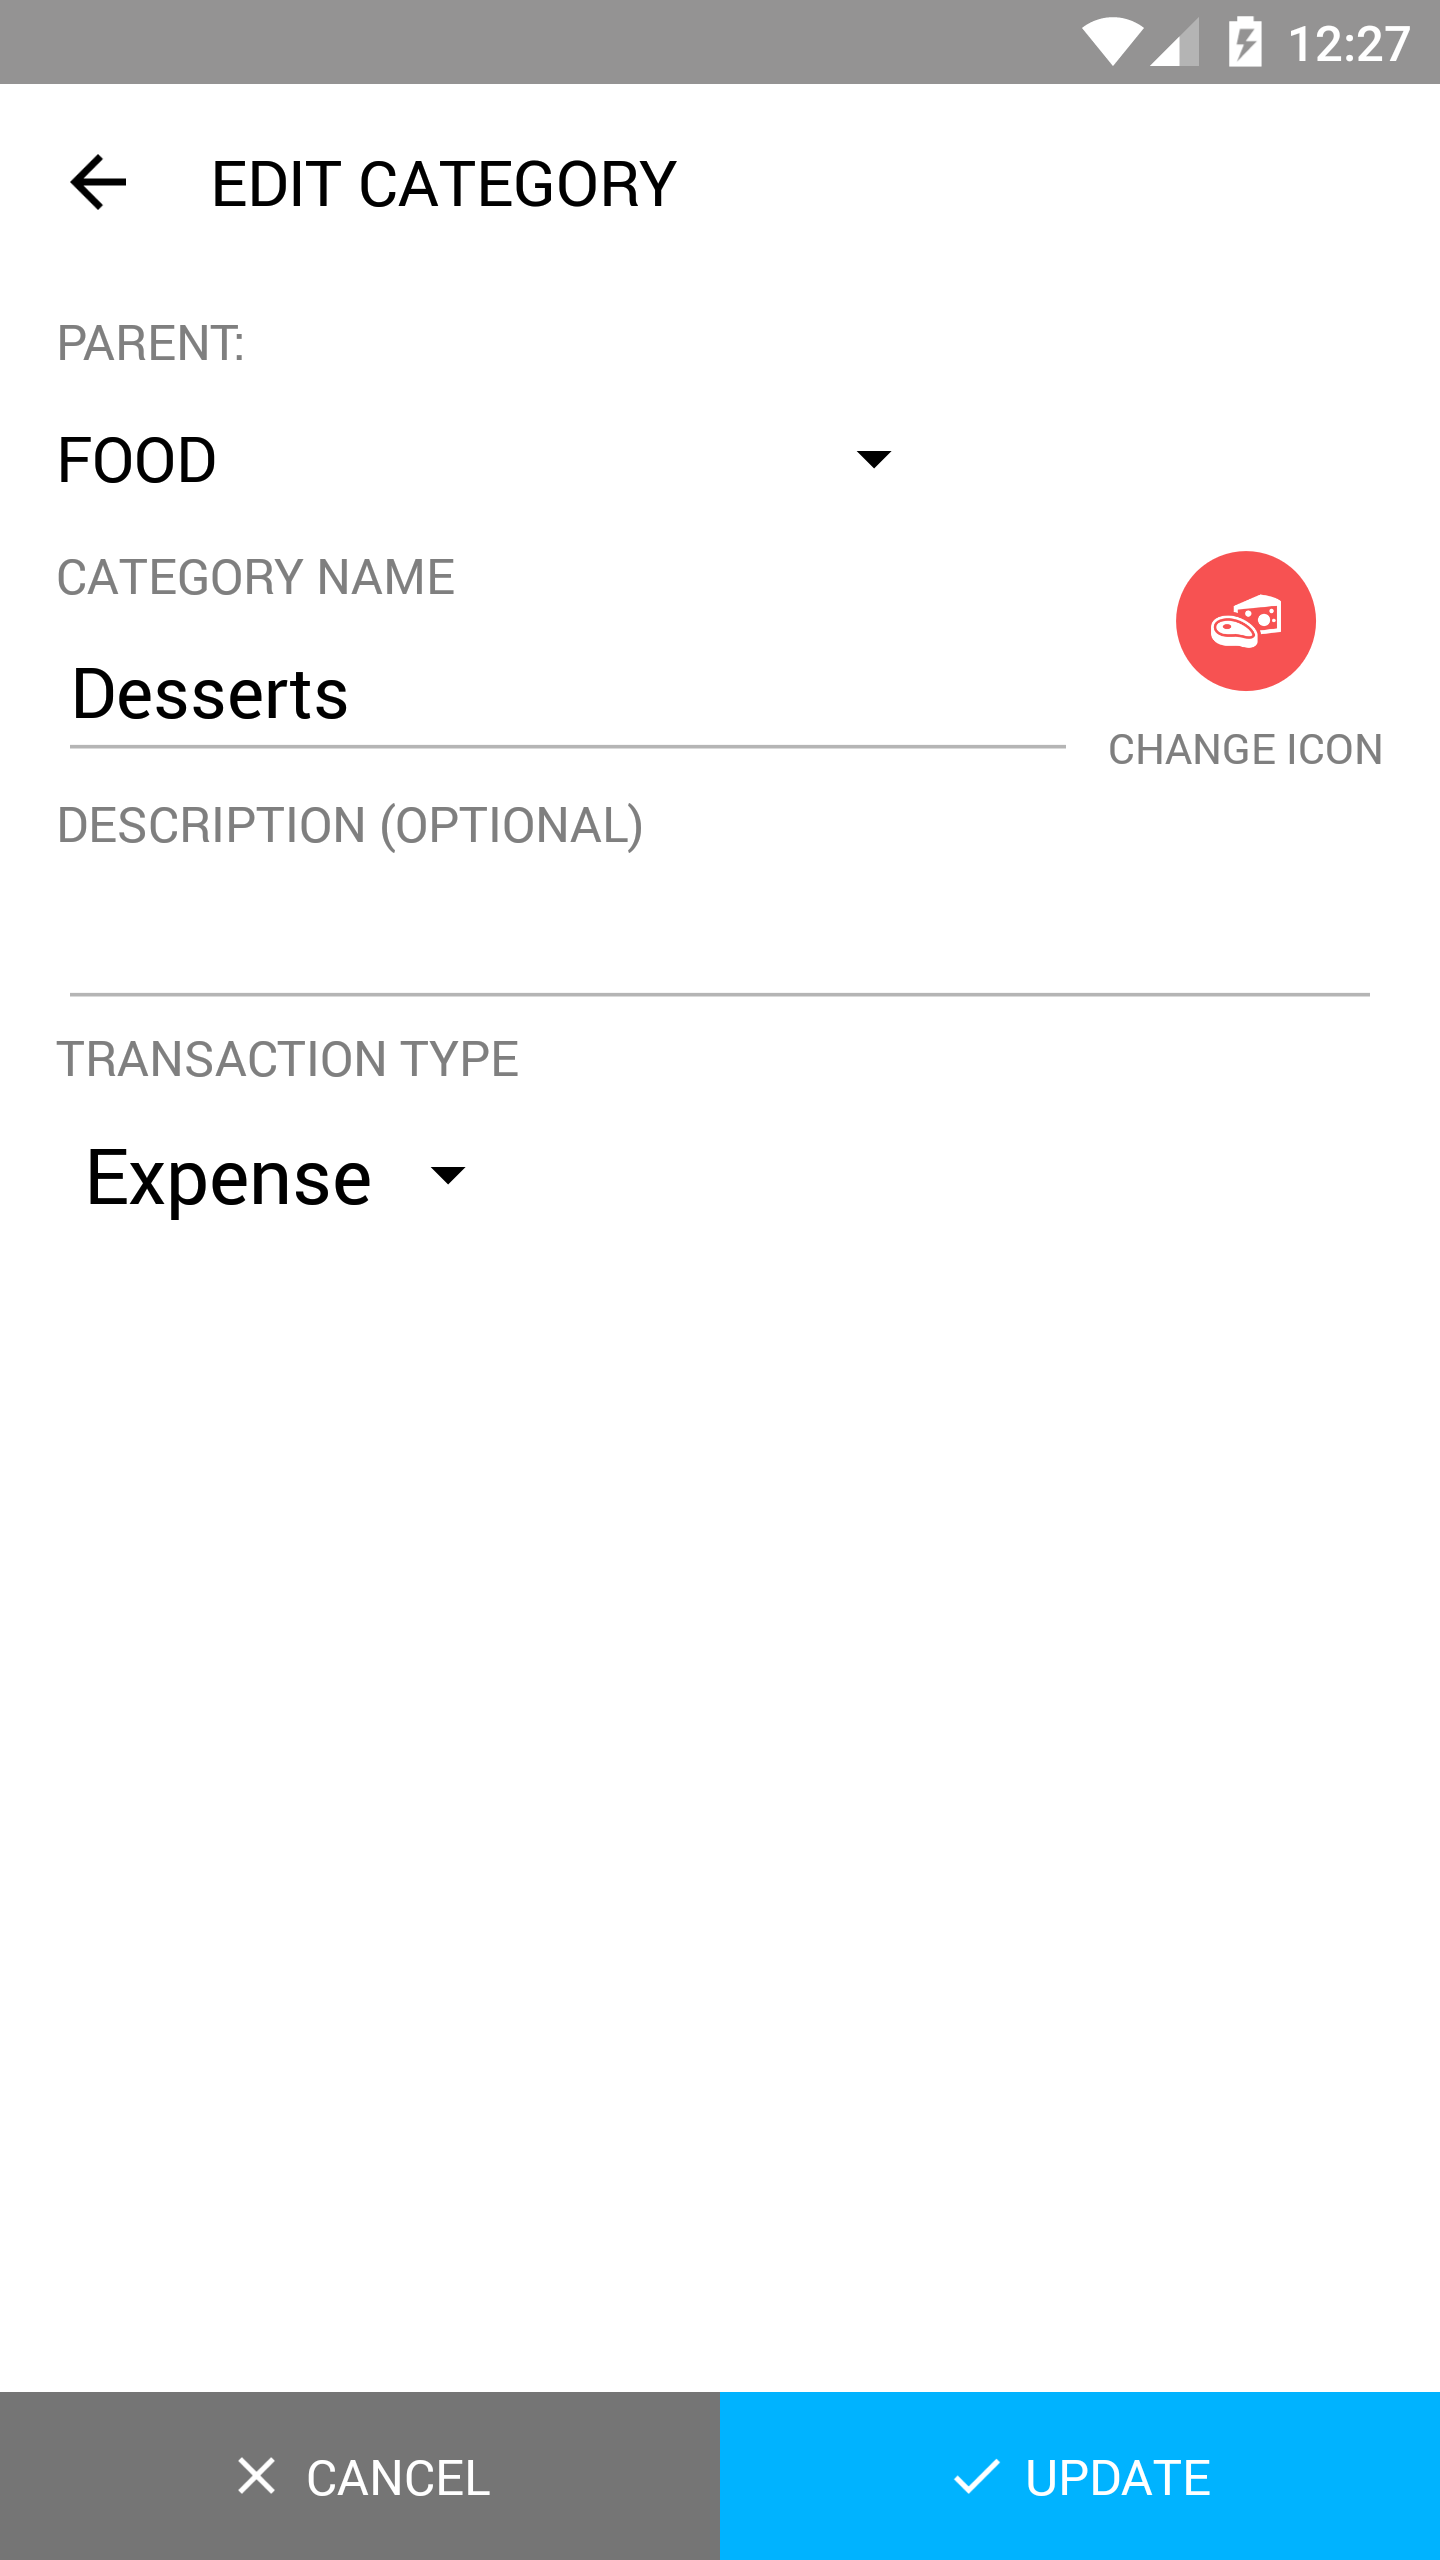
Tap the "Save" button.
Managing sub-categories
Editing/Deleting Sub-categories
To edit an existing sub-category, simply go to the Categories screen, tap on the sub-category and tap "Edit Sub-category" in the popup.
To delete an existing sub-category, tap "Delete Sub-category" in the popup.
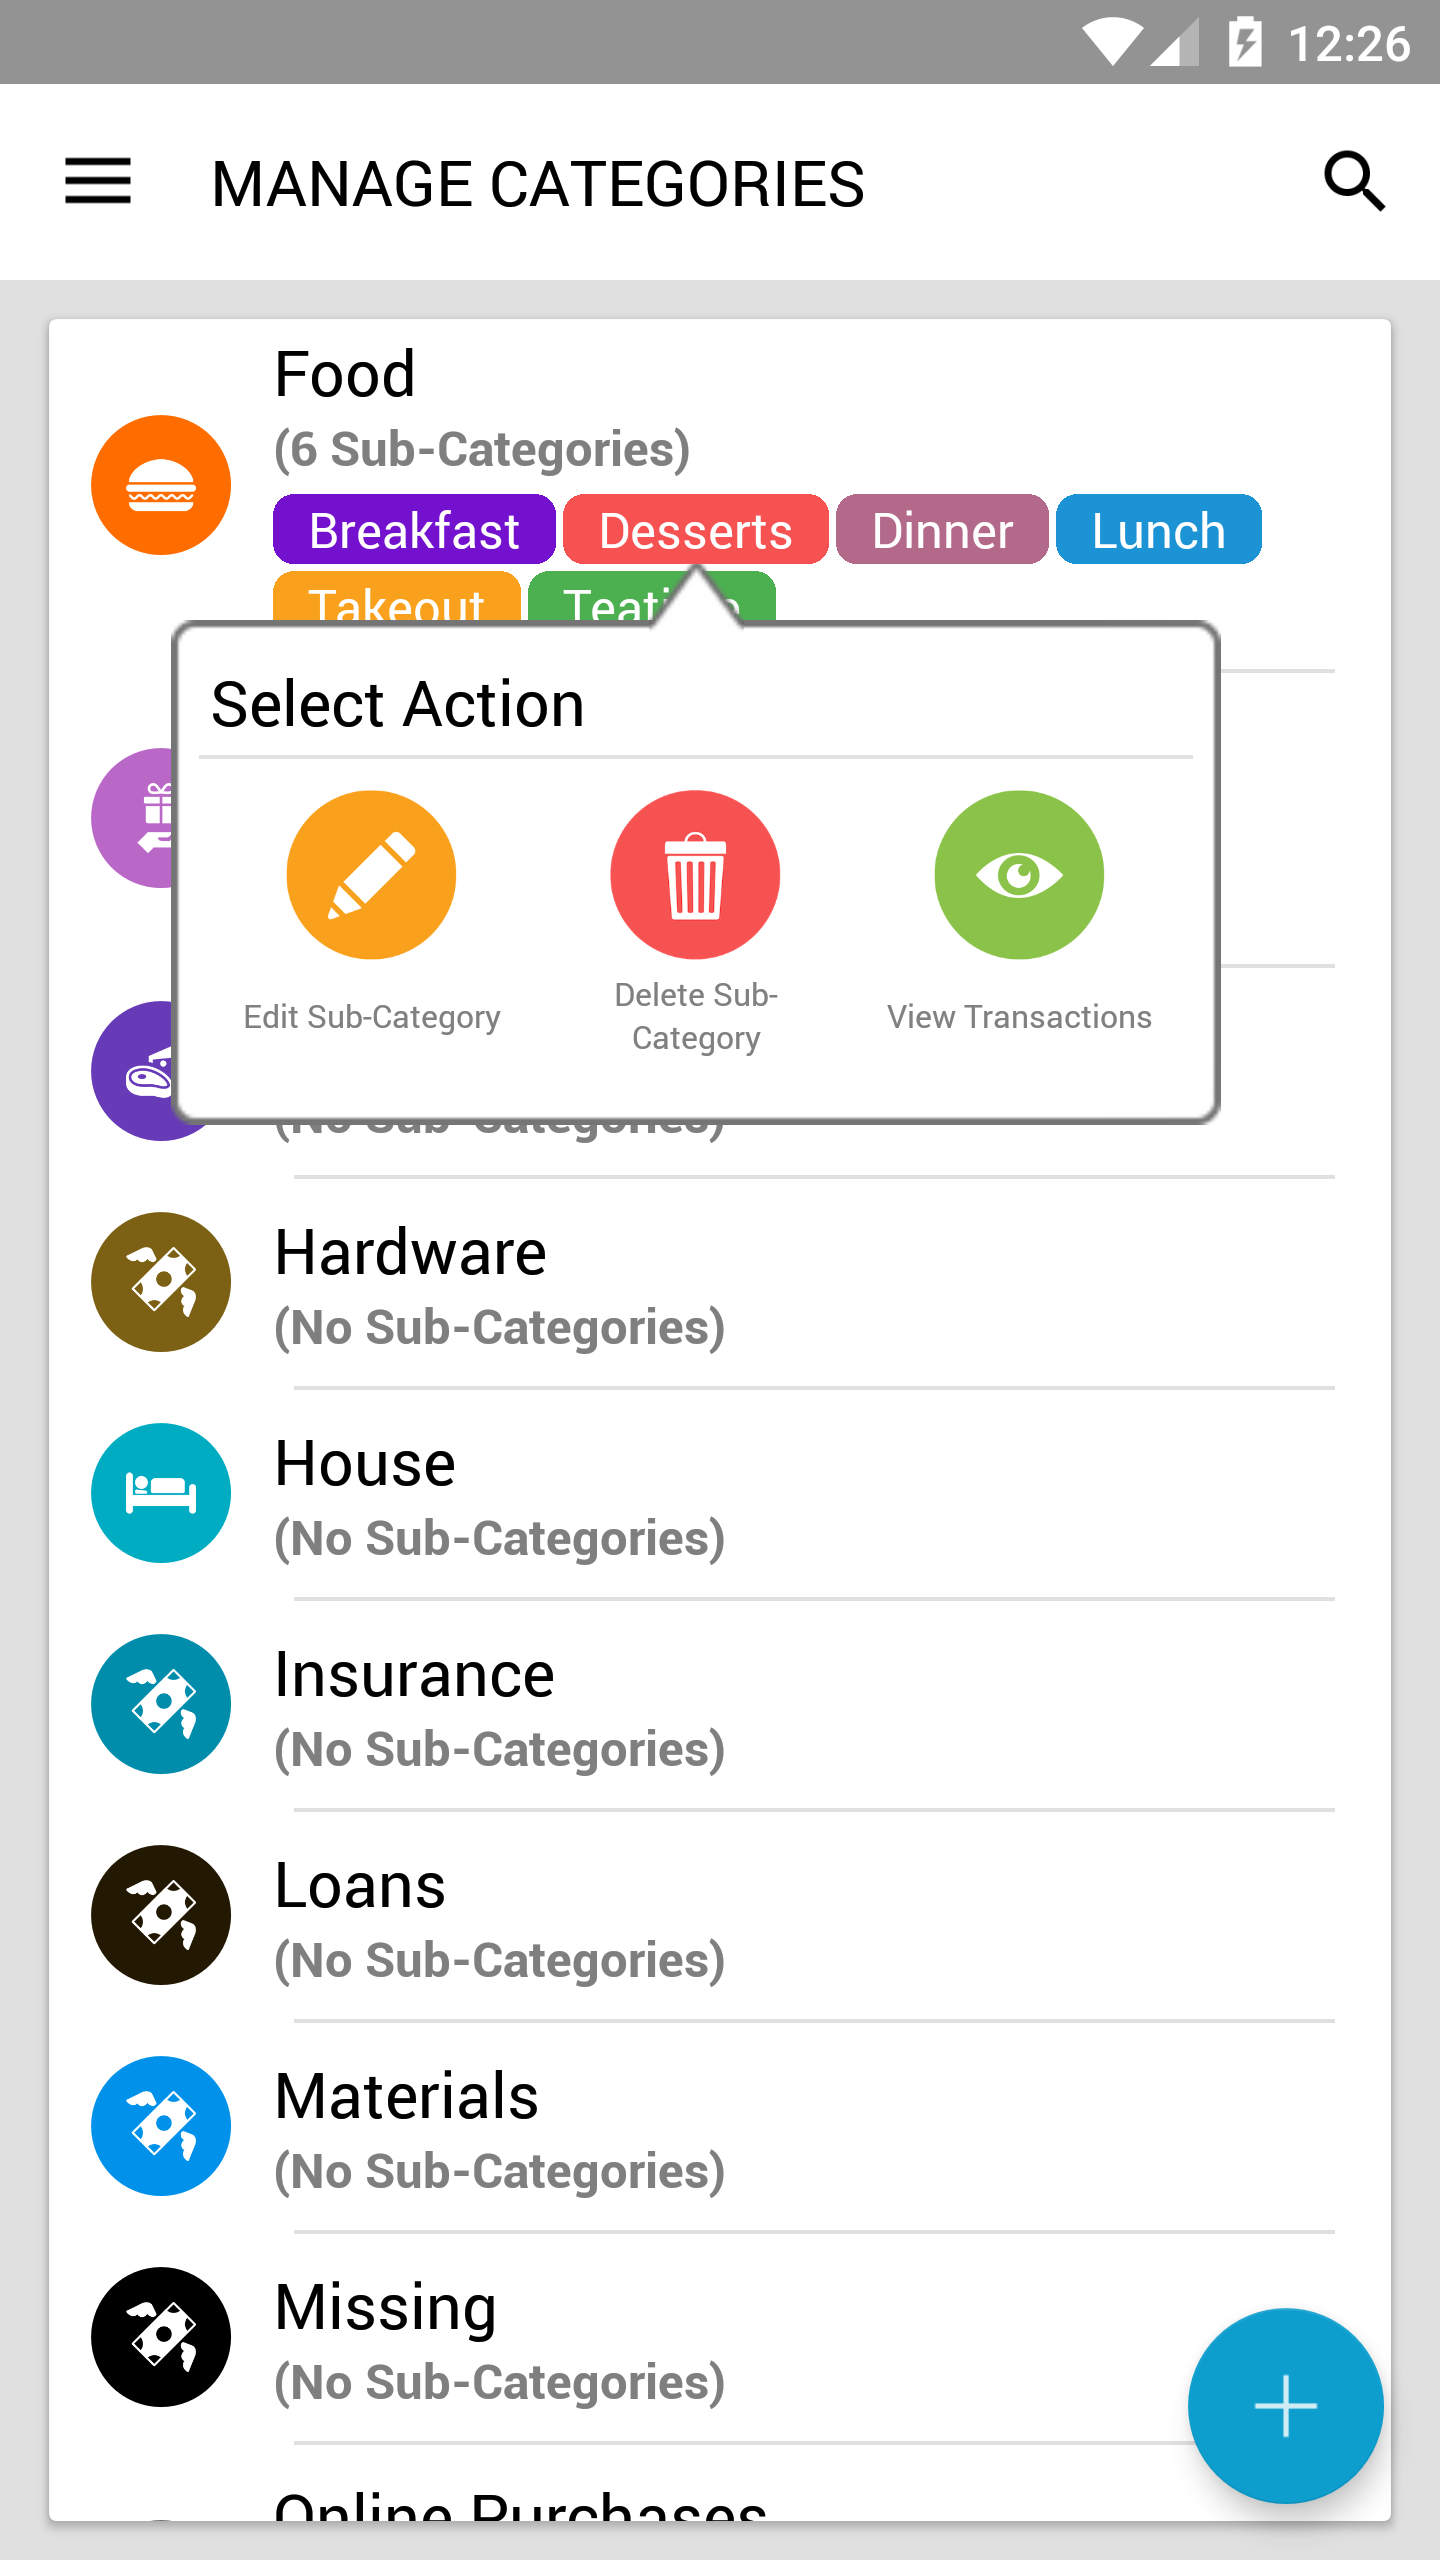
Viewing a Sub-category's transactions
Simply tap on the sub-category and tap "View Transactions" (see above screenshot).
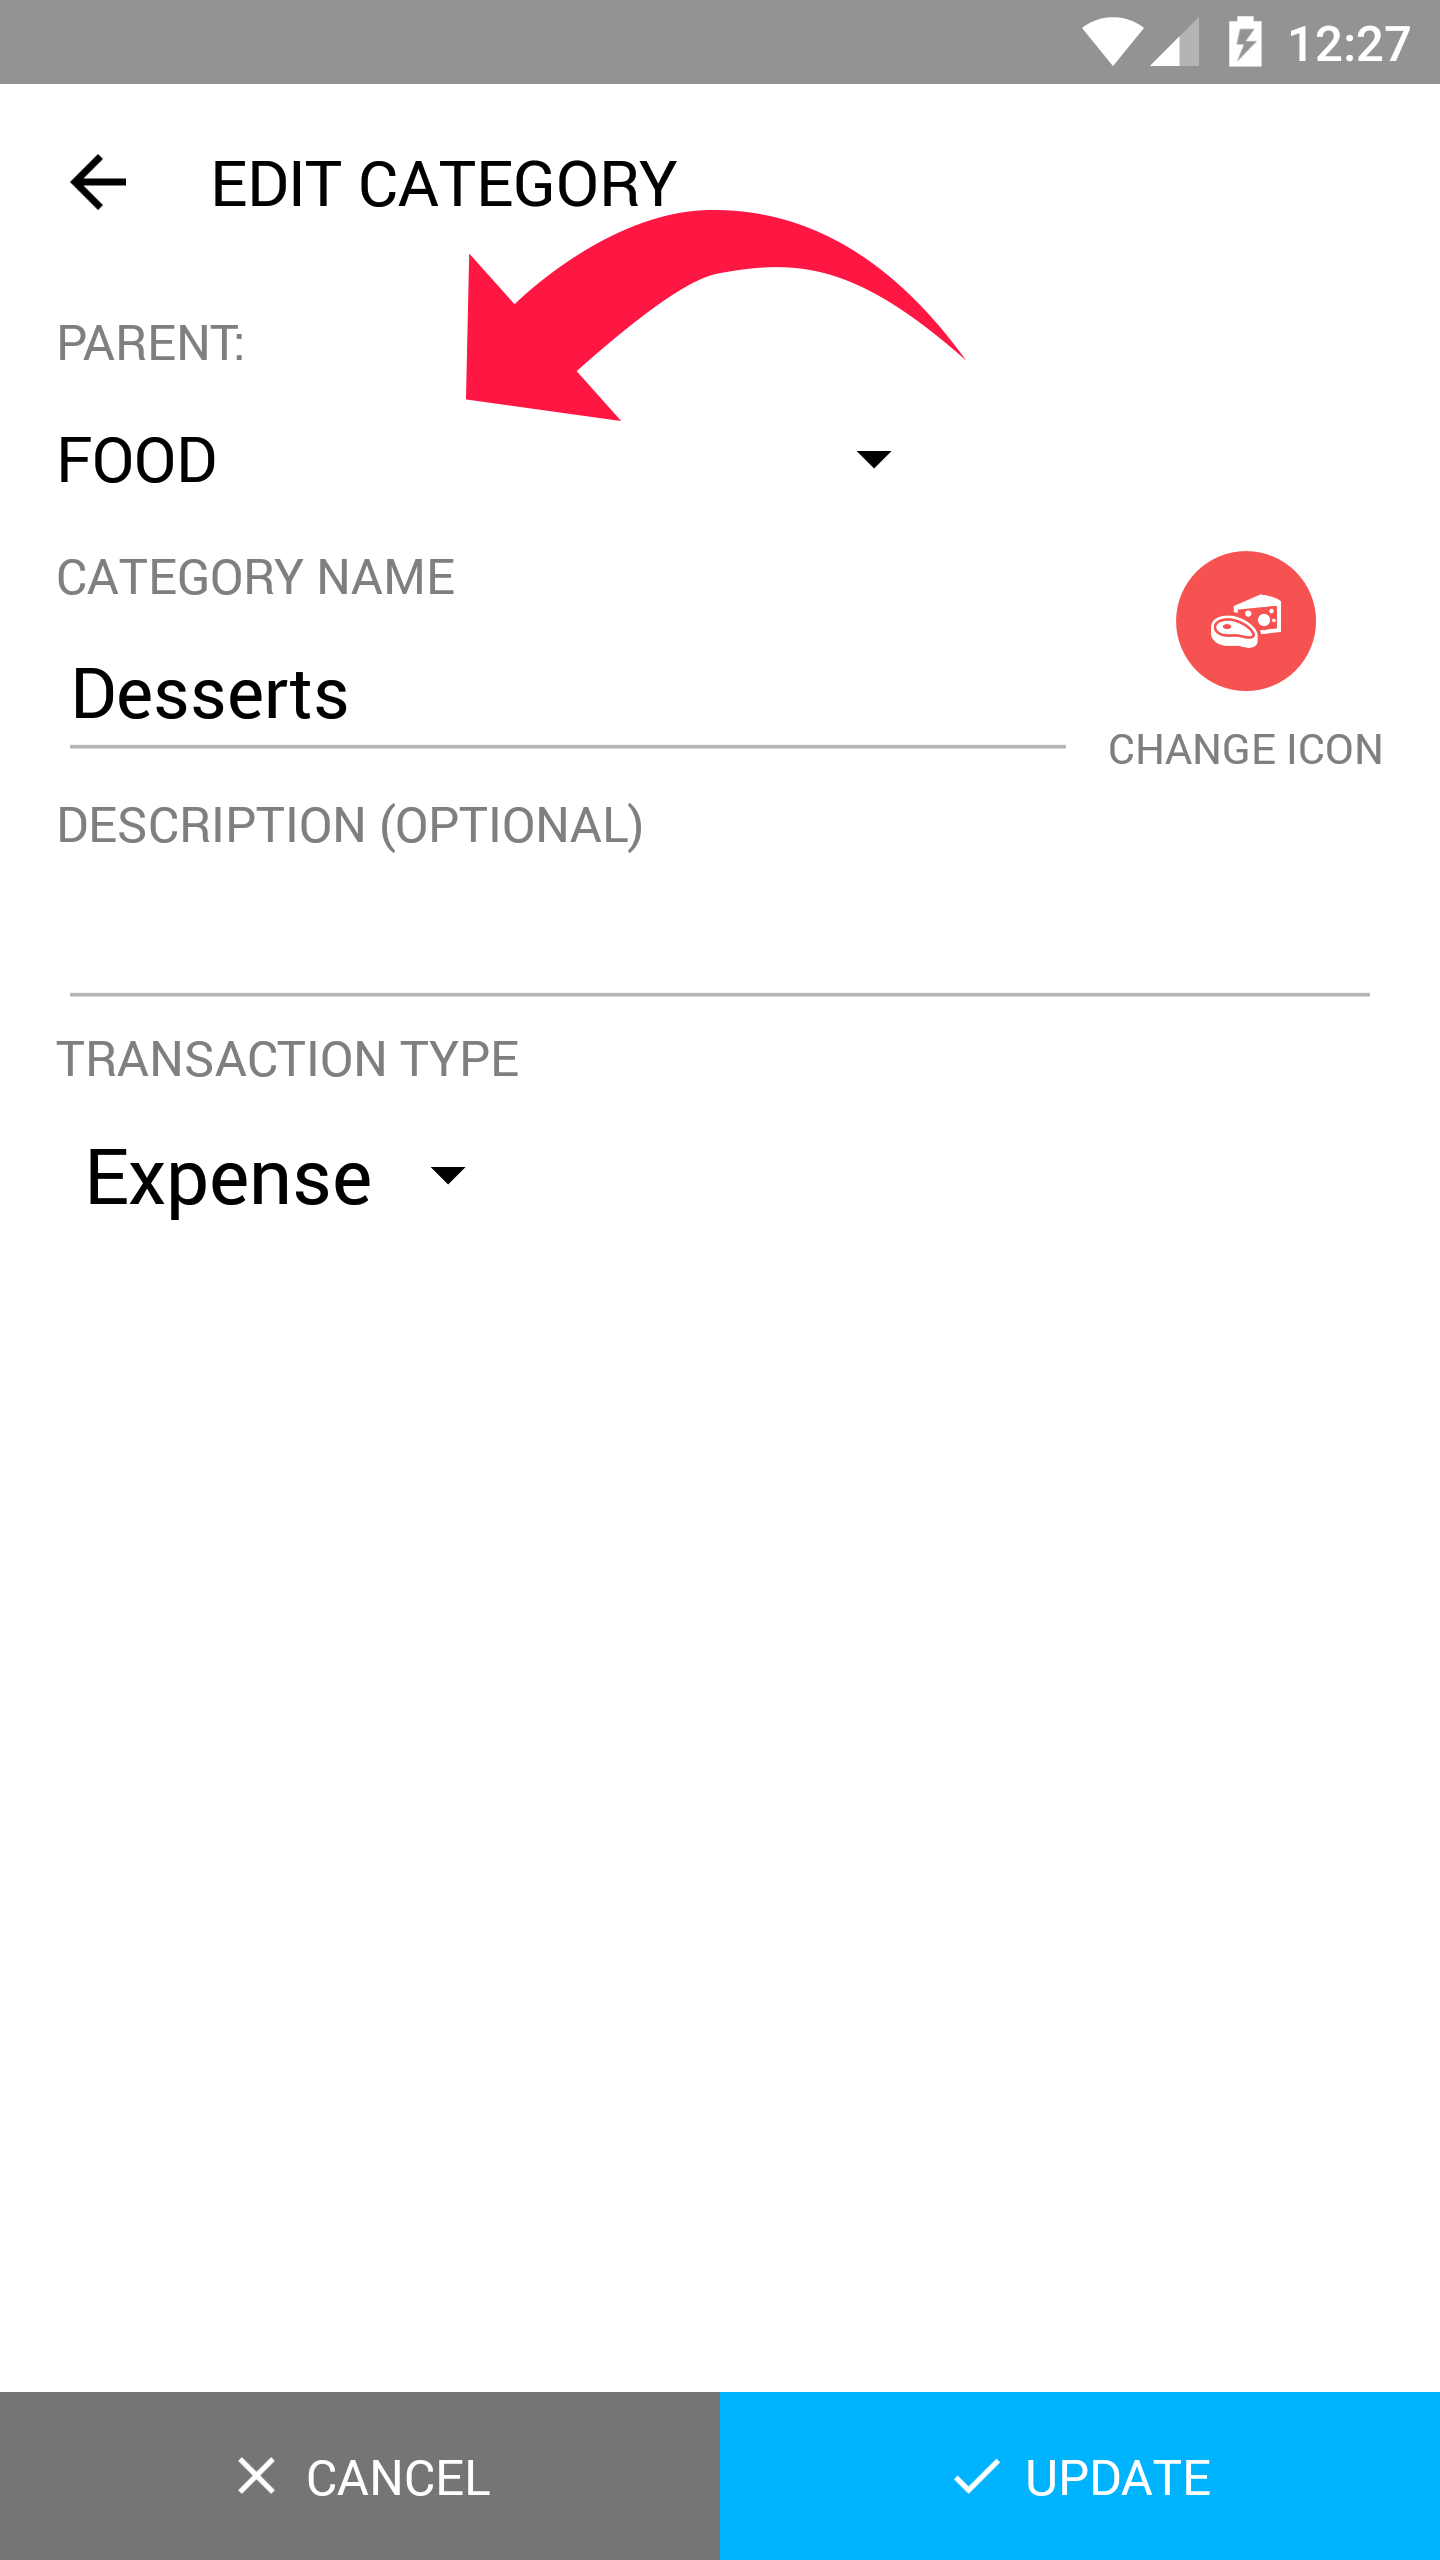
Changing Parent Categories
In the sub-category's edit screen, simply tap on "Parent" to change the sub-category's parent category.
Tap "Save".
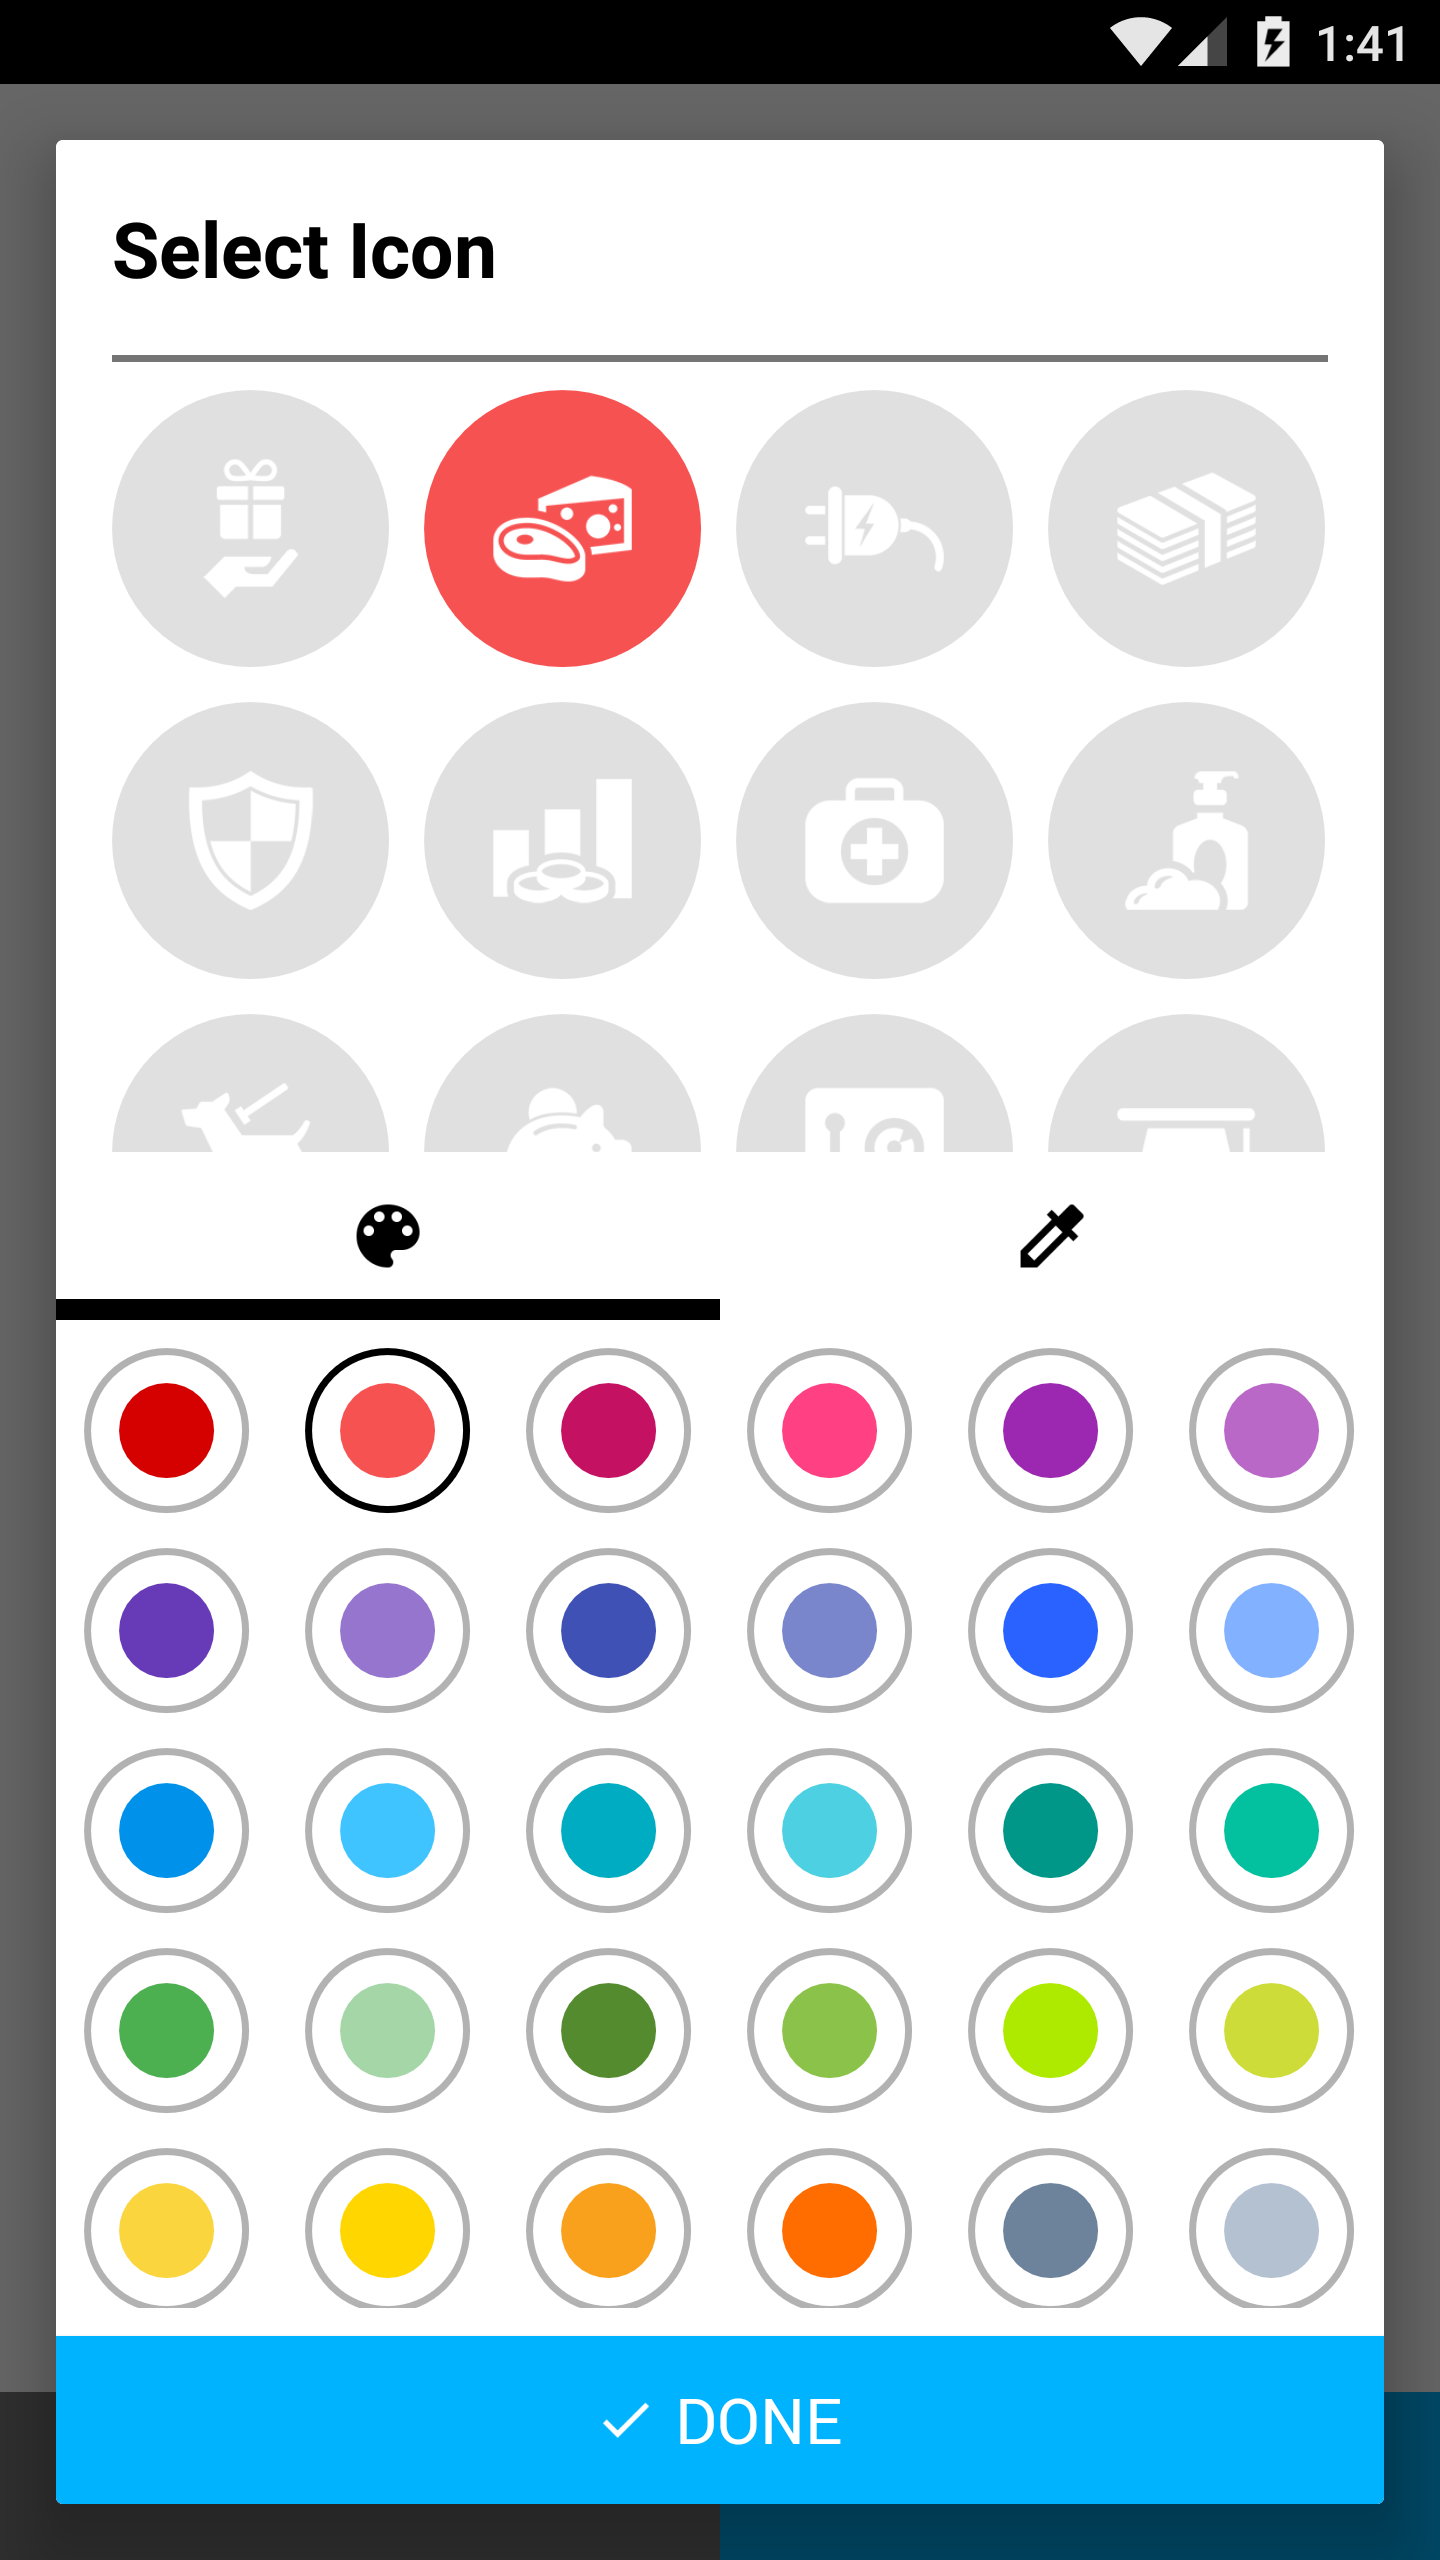
Changing Icon and Icon Color
In the Edit screen of any sub-category, simply tap the icon to show the icon+color picker and customize the icon to your liking!
If you want to select a color that is not in the default palette, you can tap on the eyedropper icon and select any color you want!